Step-by-Step Building Onboarding Guide
This guide walks you through the complete process of onboarding a building to Expert Center, from initial access to final push.
Prerequisites
Before starting the onboarding process, you'll need:
- Access to an Organization's Console. You can create a Mapped account if you haven't already. Contact [email protected] if you need assistance with access to your Organization.
- Connectors deployed and data ingested
- Understanding of the building's systems and equipment
- Allocated time for the process (typically 3-5 days)
Getting Started
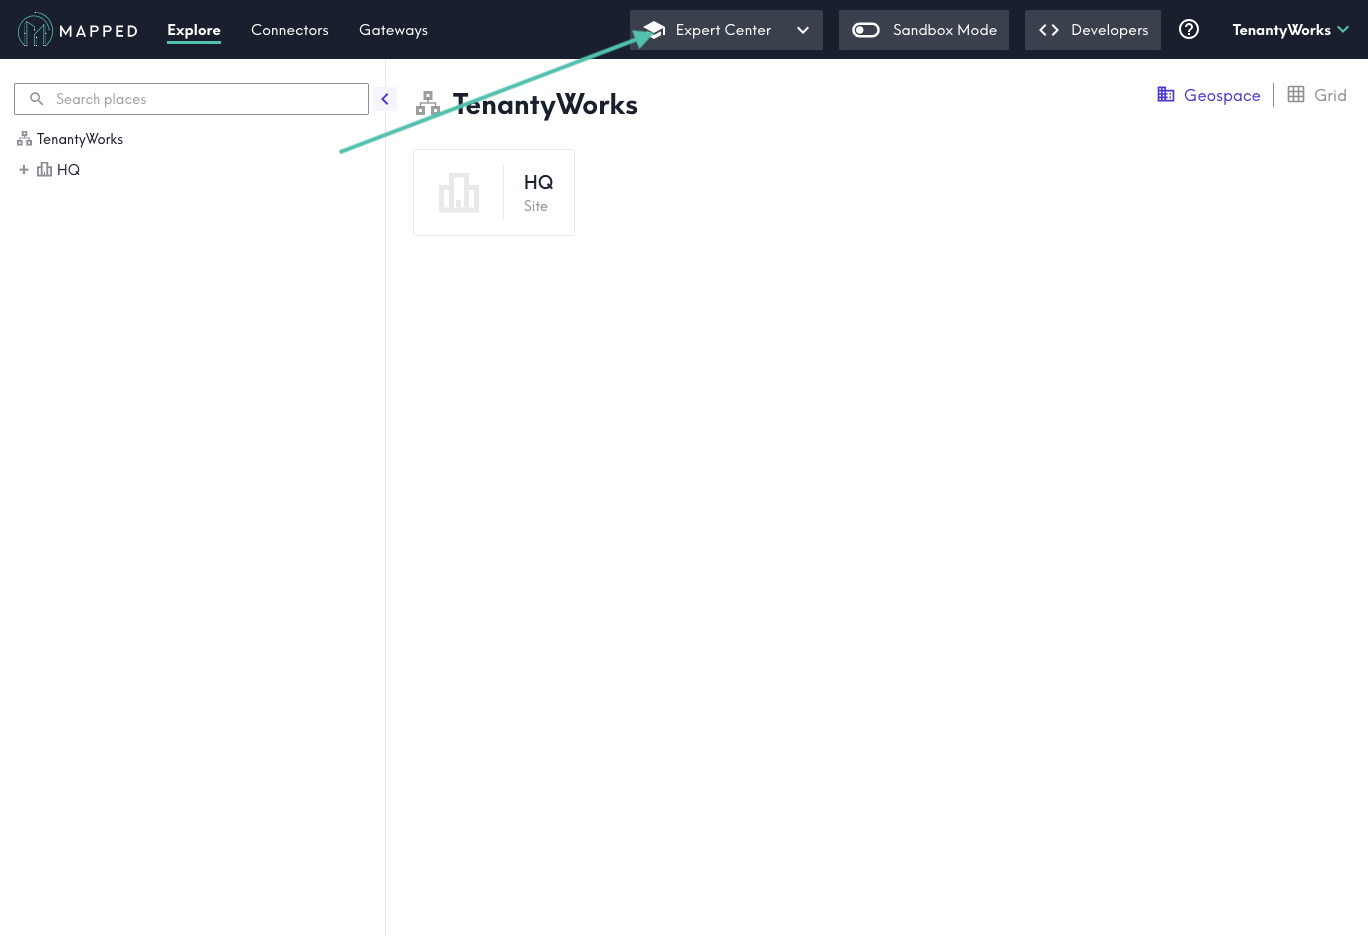
Step 1: Access the Expert Center
Located in the header of an Organization's Console, select Expert Center button. This will redirect you to the Expert Center's organization page.
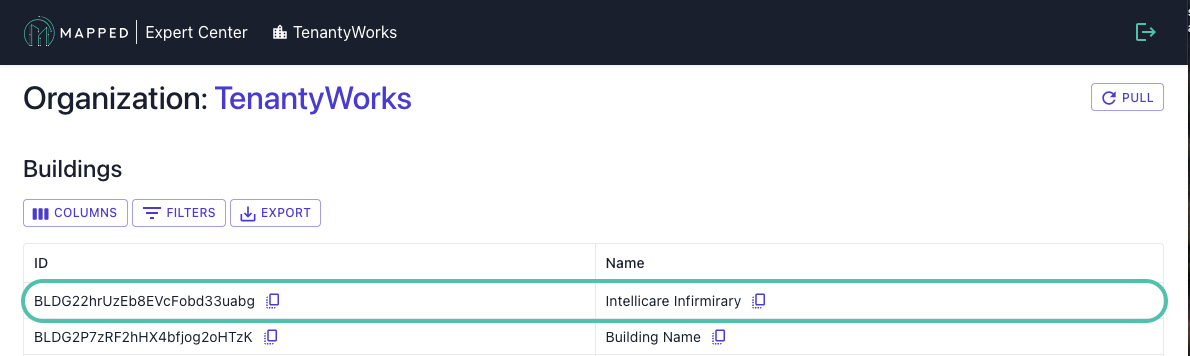
Step 2: Pull buildings into Expert Center
From the Organization Overview, if the list of buildings is empty, select PULL to ingest data from an organization's knowledge graph into Expert Center.

Step 3: Select a Building
From the Organization Overview, select a building from within the Buildings table by clicking anywhere in a building's row.
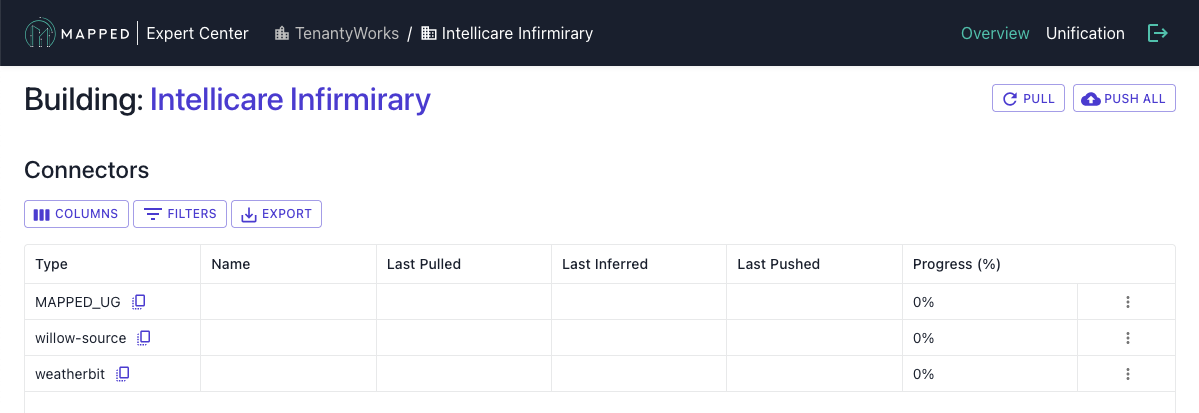
Step 4: Select a Connector
From the Building Overview, select a connector from Connectors table by clicking anywhere in a connector's row (most common: Mapped UG / CSV).
Don't see the connector you're looking for? Try running PULL.
Labeling Process
Step 5: Familiarize
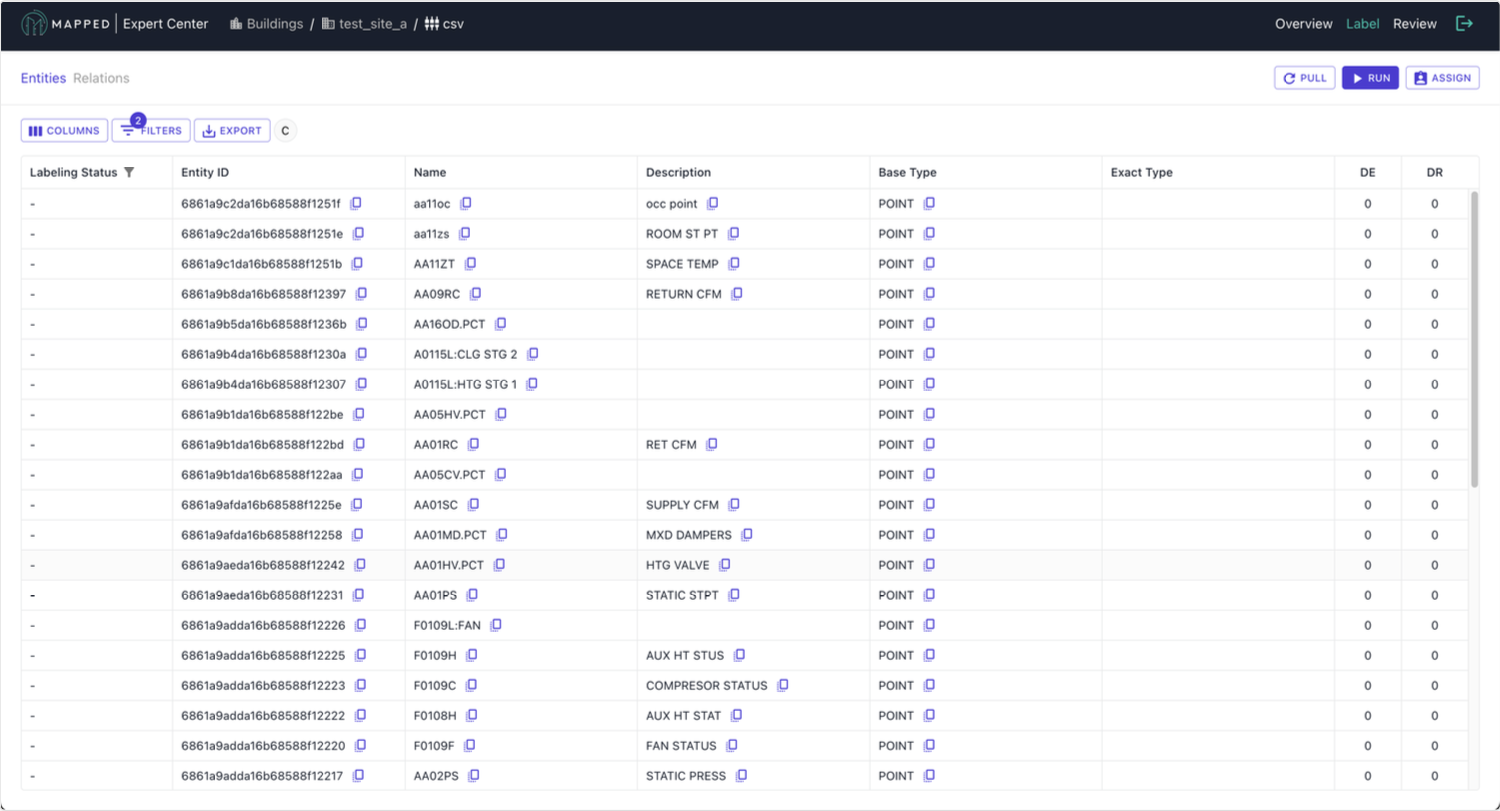
Initially, processing has not been run and all Entities are Unprocessed. We recommend familiarizing yourself with Entities within the Queue to prioritize the queue and develop an understanding which patterns should be prioritized.
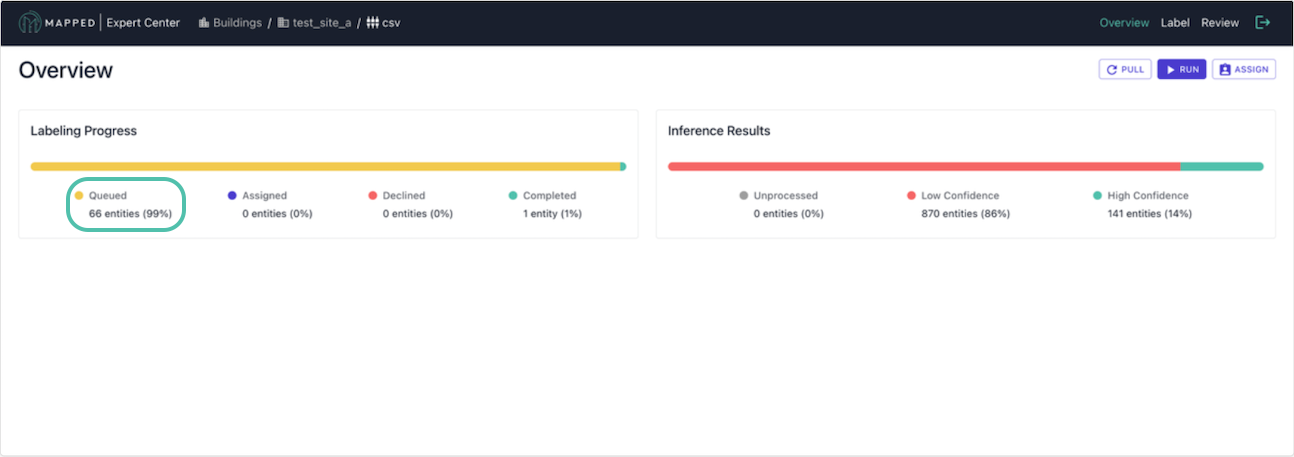
From the Connector Overview, select Queued from the Labeling Progress bar. This will navigate to the Label View > Entities tab, where you can identify textual patterns in name and description to determine which patterns should be prioritized for assignment.
📄 Read more on the labeling workflow
Step 6: Assign
From anywhere within a Connector, select Assign, then specify a labeler's email, max quantity, base type (e.g. Point), and Text Pattern (optional). Repeat assignment for your entire team.
📄 Read more on assigning labeling tasks
Step 7: Label
In the Label Interface > Entities tab, label assigned entities.
📄 Read more on labeling entities
Model Processing
Step 8: Run processing
After initial assignments are completed, it's time to run processing. This will take anywhere from 30-90 minutes depending on the volume. Monitor Jobs table to verify processing has successfully completed.
📄 Read more on how to run processing
Review and Validation
Step 9: Navigate to Review
From the Connector Overview page, select status from Inference Results progress bar to view specific processing status, or select Review from header to view all processed results.
📄 Read more about the Review stage
Step 10: Review Low Confidence results
From the Review Page > Source Entities tab, review inferred results with Low Confidence. Patterns of inferred Entities with Low Confidence are automatically added to the queue, however you have the ability to Approve Entities.
Step 11: Review High Confidence results
From the Review Page > Source Entities tab, review inferred results with High Confidence. Entities can be Declined, which will be added to the queue for additional labeling.
Step 12: Review Derived Entities
From the Review Page > Derived Entities tab, review a list of Derived Entities and decline rows.
Step 13: Iterate if Necessary
If the prediction accuracy is below your target:
- Add more labeled examples
- Re-run processing with updated training data
- Review new processed results
- Repeat until satisfactory accuracy achieved
Unification
Step 14: Unify
- Navigate to the Unification interface
- Create Unified Entities
- Associate Unified Entity with Inferred Entities
📄 Read more about the Unify stage
Push
Step 15: Push Enriched Data
- Verify all previous steps are complete
- Navigate to Building
- Select Push All to push all connectors and unification
📄 Read more about the Push stage
Validate
Step 16: Validate Knowledge Graph
Run GraphQL queries to ensure correct:
- Building information and structure
- Equipment classifications and relationships
- Collections and systems
- Zones and HVAC connections
- Points and data availability Review results against expectations from Expert Center